PIXMA MG3040 Wi-Fi Setup Guide
Some access points (often called routers or hubs) feature an automatic connection button labelled “WPS” which stands for Wi-Fi Protected Setup and allows permitted devices to connect to your network without needing to enter a password. This is the easiest way of connecting your PIXMA printer, so if your access point has a WPS button please select ‘WPS Connection Method’ below for instructions on connecting using this method.
If your access point does not support WPS, please select 'Standard Connection Method' below.
WPS Connection Method
Before we start, there are however some conditions that must be met in order to use the WPS pushbutton method:
- The access point must have a physical WPS push button available, please check with your device’s user guide for details.
- Your network must be using the WPA (Wi-Fi Protected Access) or WPA2 security protocol. Most WPS enabled access points will not connect using the WPS method if the WEP (Wired Equivalent Privacy) security method is used, or if no security is enabled. For details on which security method is being used on your wireless network, please check the wireless connection settings on your computer.
Please follow the steps below to complete the setup -
1. Make sure the wireless router is in range of the printer and the WPS button is ready to be pressed.
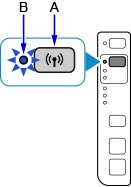
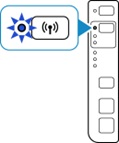
2. Press and hold the [Wireless] button (A) on the printer until the Wireless lamp (B) flashes.
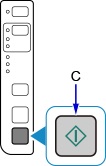
3. Press the [Colour] button (C).
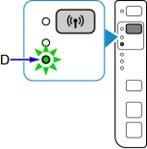
4. Press the [Wireless] button until the Direct lamp (D) lights up.
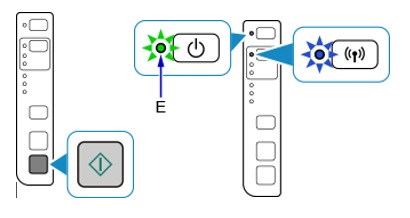
5. Press the [Colour] button, and make sure that the ON lamp (E) and the Wireless lamp flash, then press the [WPS] button on the wireless router within 2 minutes. The blue Wi-Fi lamp on the printer will continue to flash while searching, and the Power and Wi-Fi lamps will flash when connecting to the access point.
6. When the printer has successfully made a connection to your wireless network, the Power and Wi-Fi lamps will stop flashing and remain lit. The network lamp will also light up.
For exact details regarding pressing the WPS button, please refer to the access point manual.
Network settings confirmation
To confirm that your printer is successfully connected to your wireless network, you can print out the network settings of your printer if you wish:
1. Make sure that your printer is turned on.
3. Press and hold the [Wi-Fi]
 button until the Wi-Fi lamp flashes once, and then release it.
 button.
5. Press the [Wi-Fi]
button twice.
or [Black]
 button.
The network information page will be printed.
When referring to the printout, check that “Connection” indicates “Active” and that the SSID -Service Set Identifier (the name of your wireless network) indicates the correct name of your wireless network.
This concludes the WPS setup procedure.
Please now install the provided software.
If you do not have the CD(’s) that came with your product, or you are a Mac user, please download the software.
If the WPS wireless setup is still failing after following this guide, please contact us for further assistance.
Standard Connection for Windows
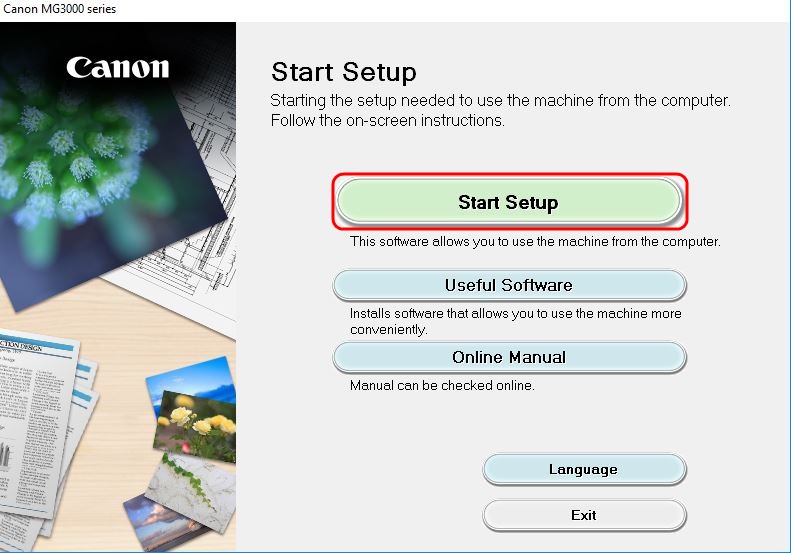
1. Double click on the downloaded .exe file to open the following screen and click [Start Setup].
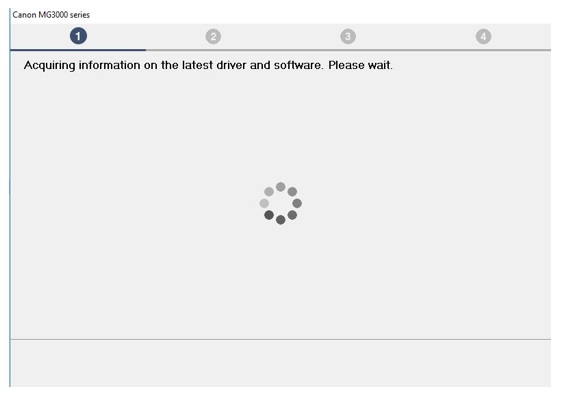
2. The software will check to see if there are any updates to the driver and software. This may take a few minutes to complete.
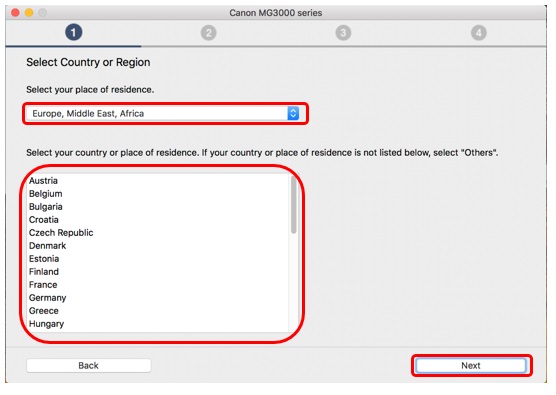
3. Select your region and country, then click [Next] .

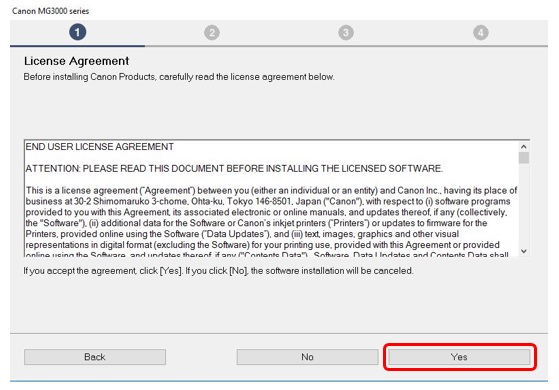
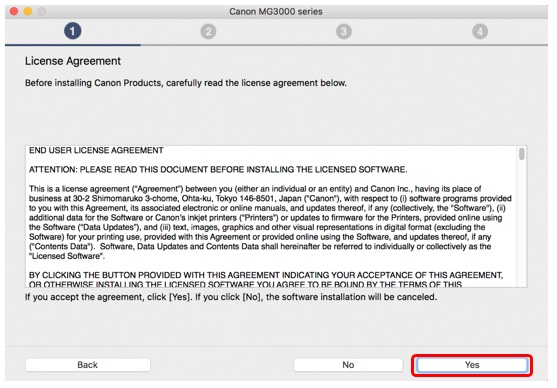
4. If you accept the terms of the license agreement, click [Yes] .
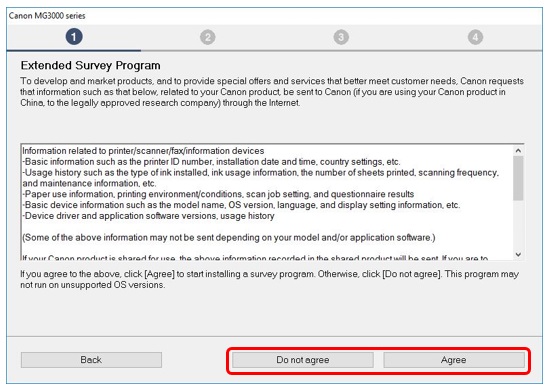
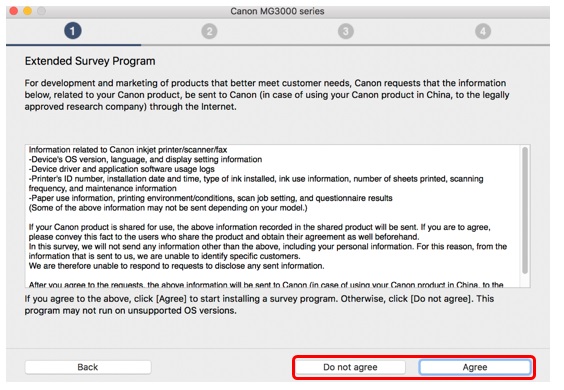
5. If you would like to take part in the extended survey program, click [Agree] .
Otherwise click [Do not agree] .
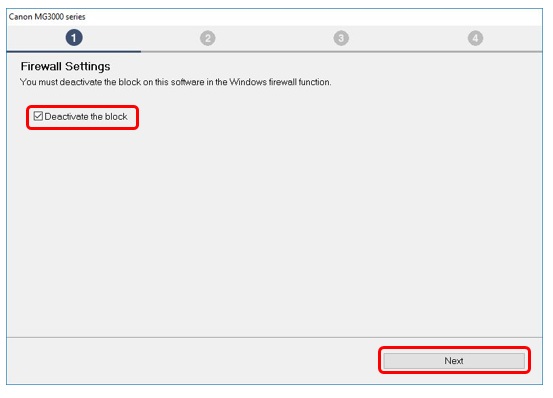
6. Ensure [Deactivate the block] is checked and click [Next] .
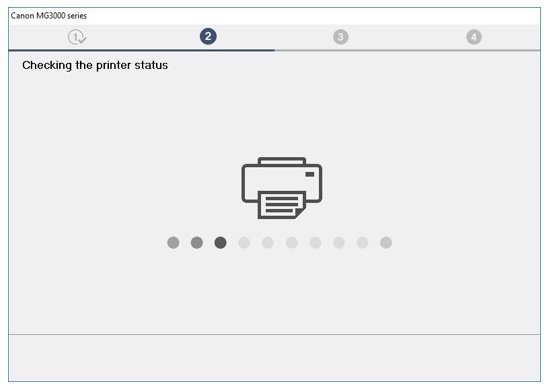
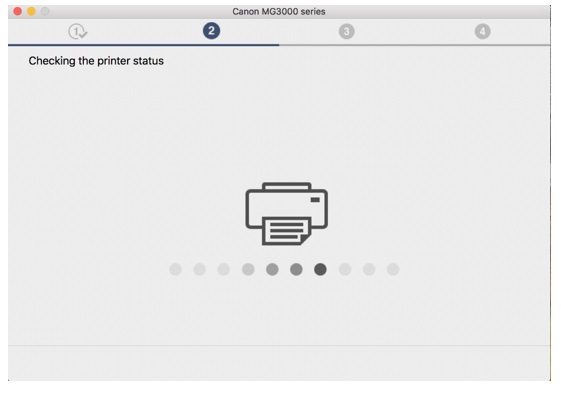
7. The following screen will be displayed for a few seconds.
8. Select [Wireless LAN Connection] and click [Next] .

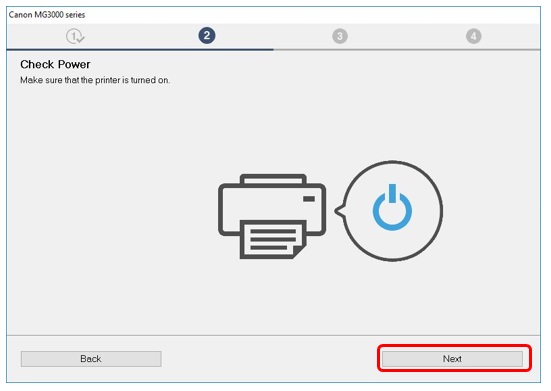
9. Ensure that your printer is powered on and click [Next] .
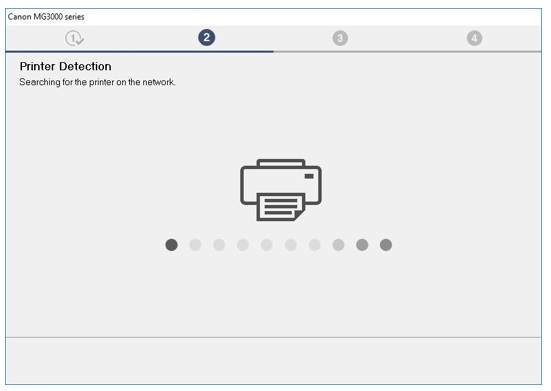
10. The software will search for any printers already set up on your network.
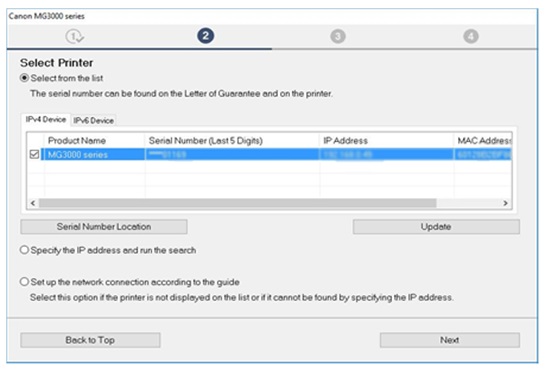
11. If you have already connected your printer to your network, select it from the list and click [Next] to start the software installation, then proceed to step 16.
If you cannot see your printer listed, continue to step 12.
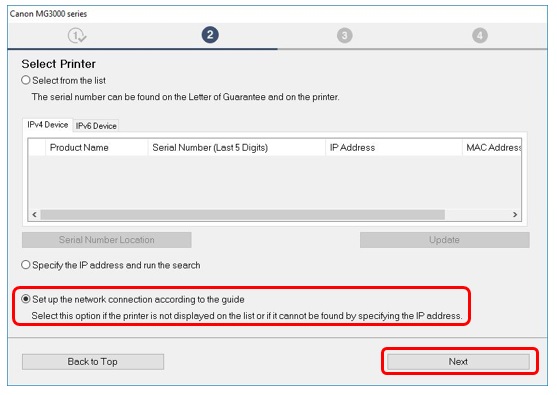
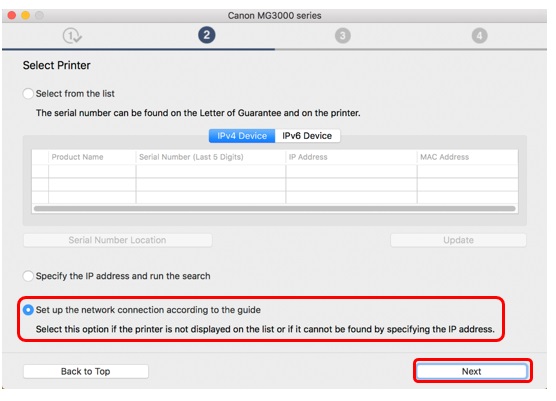
12. If this is the first time you are setting up your printer, it will not be displayed in the list.
Ensure [Set up the network connection according to the guide] is selected and click [Next] .
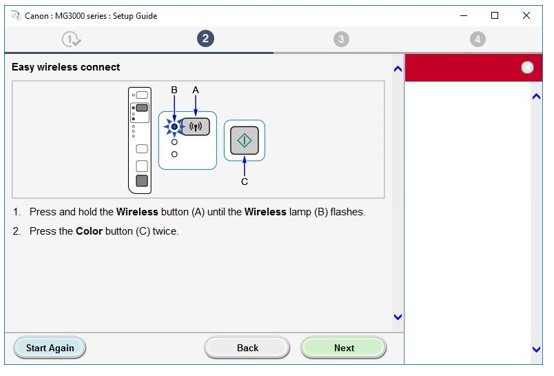
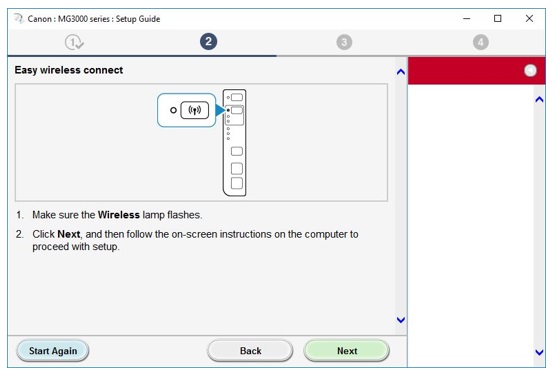
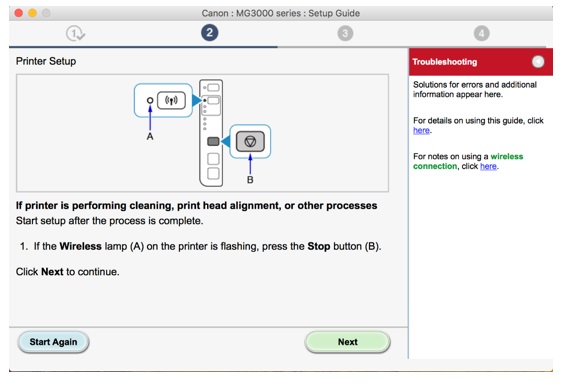
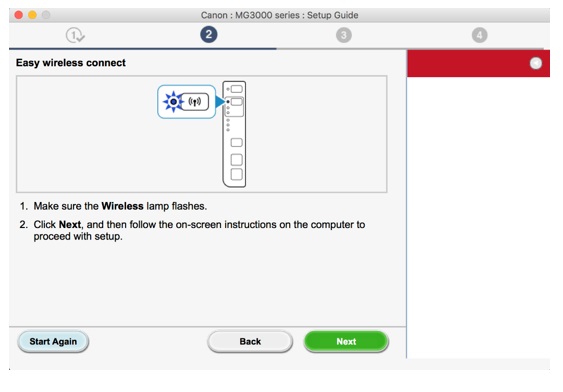
13. The setup guide will open and guide you through connecting your printer to your network using the easy wireless connect process.
Please follow the on-screen instructions carefully to prepare your printer for connection.
Only click next, when your printer corresponds with the example shown in the diagrams below -

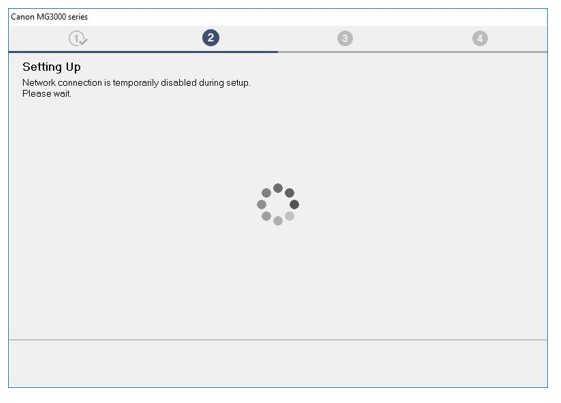
14. Once you have made the necessary settings on your printer, the software will now temporarily disconnect your computer from your wireless network and connect directly to your printer to configure the network settings.
Your computer will reconnect to your wireless network automatically once this has completed.
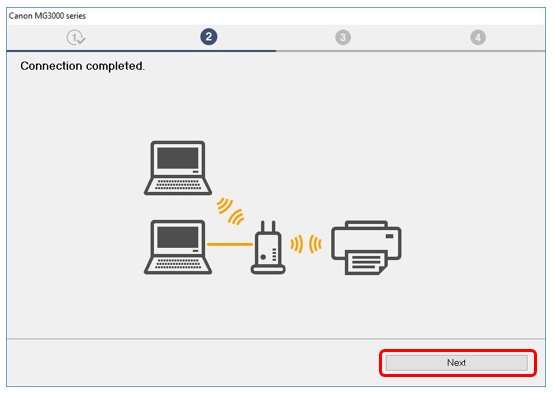
15. When the connection is established, click [Next] to continue with the software installation.
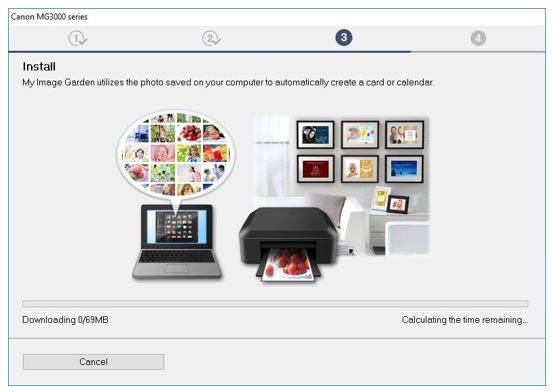
16. The printer driver software will now install and register onto your computer. This will take a few minutes to complete.
17. If this is the first time you are setting up your printer, it is recommended to perform print head alignment. Click [Execute] to start the process and follow the on-screen instructions.
If you have already aligned the print head, click [Next] .

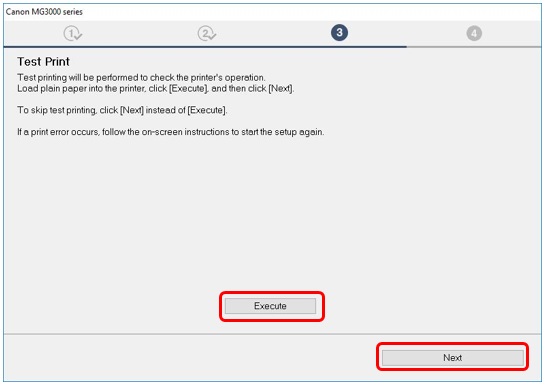
18. Click [Execute] to perform a test print.
Once successfully printed, click [Next] .
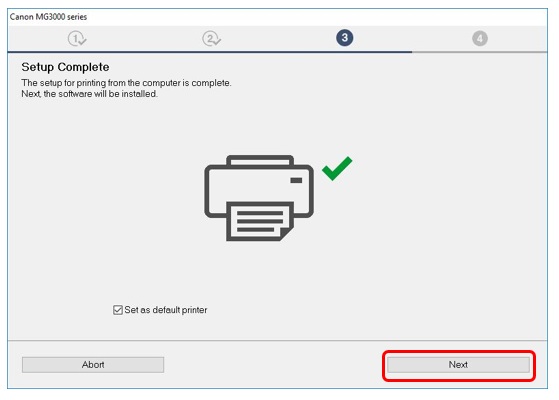
19. The setup of your printer is now complete.
Click [Next] to see a list of optional software you can also install.
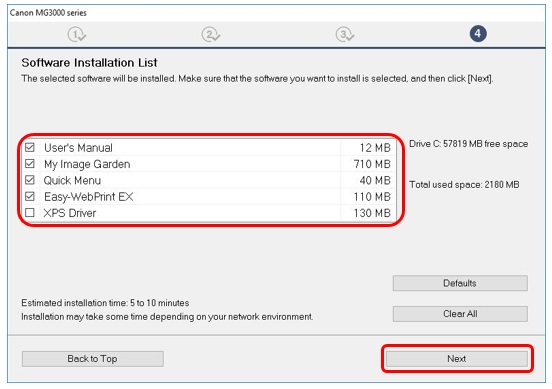
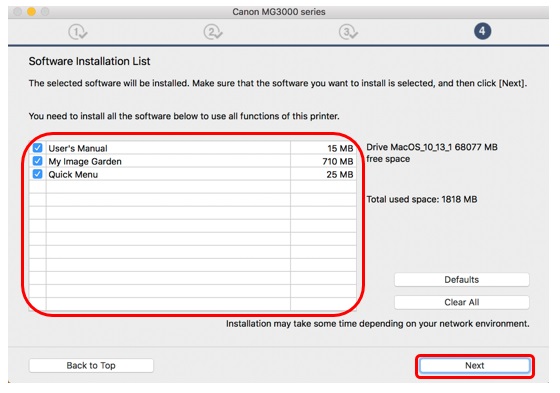
20. From the list select any additional software you wish to install and click [Next] .
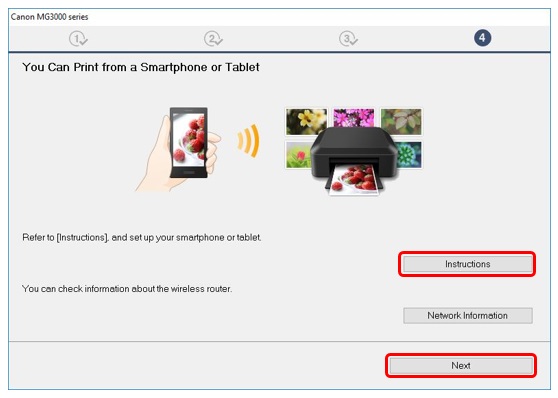
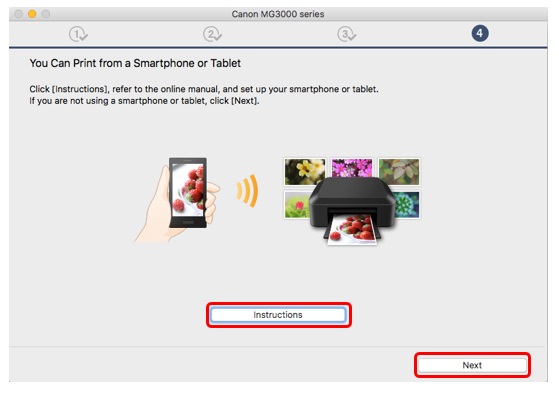
21. Once the additional software has installed, you will see a message informing you about setting up your smartphone or tablet. Click on [Instructions] to find out more information on setting up your device, or click [Next] to continue.
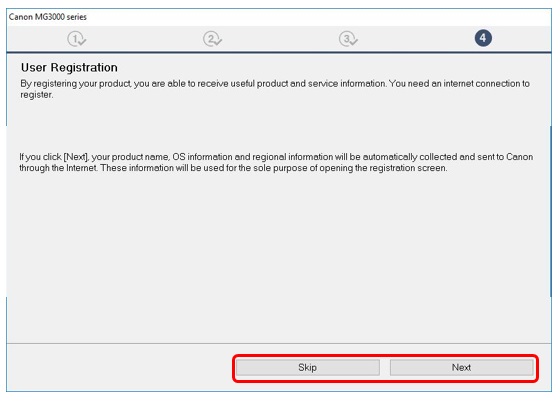
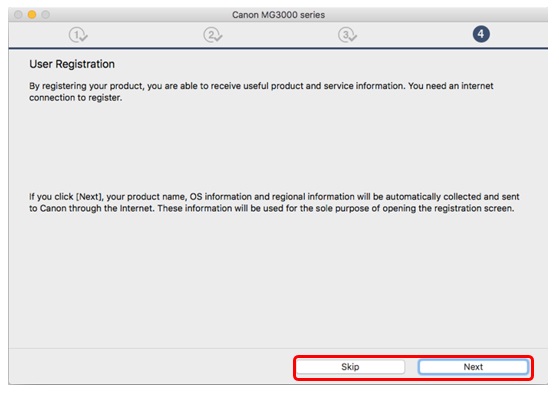
22. To register your printer, click [Next] (this will open in a web browser).
Alternatively, click [Skip].
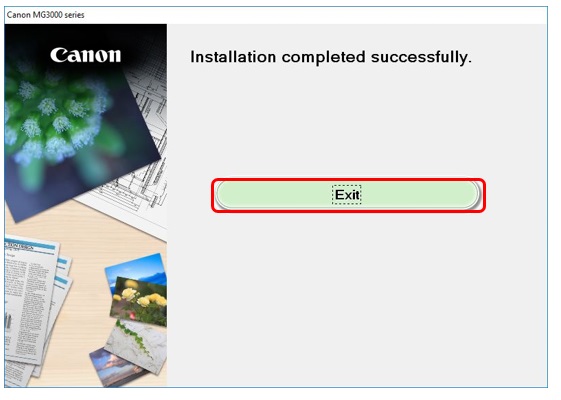
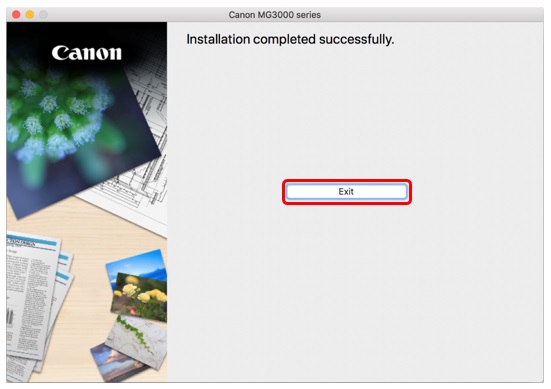
23. Click [Exit] to finish the installation.
Standard Connection for Mac
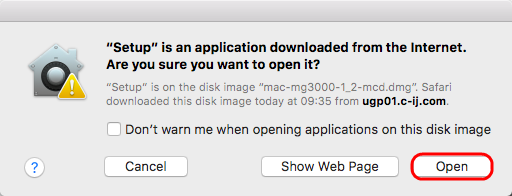
1. Double click on the downloaded .dmg file to open the following screen.
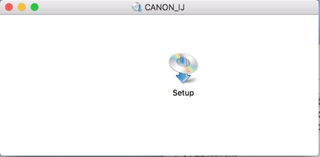
Double click on the [Setup] icon to start the setup. If the following screen appears, click [Open] .
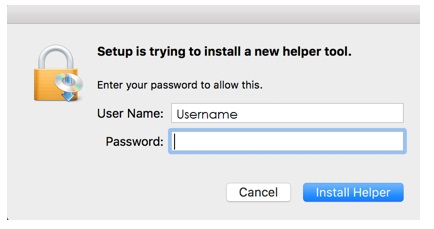
2. When the following screen appears, type your Password to allow the Helper Tool to be installed, then click on [Install Helper].
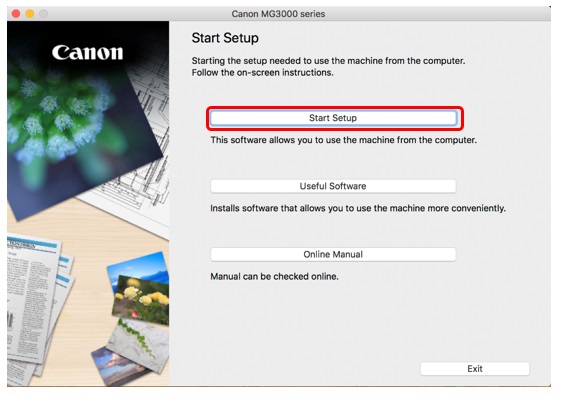
3. Click [Start Setup].
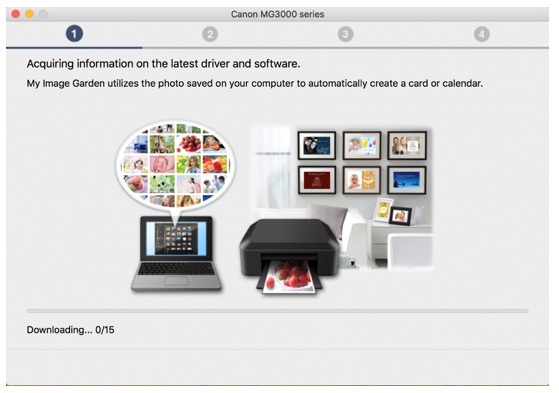
4. The software will check to see if there are any updates to the driver and software and download them as necessary.
5. Select your region and country, then click [Next] .
6. If you accept the terms of the license agreement, click [Yes] .
7. If you would like to take part in the extended survey program, click [Agree] , otherwise click [Do not agree] .
8. The following screen will briefly appear.
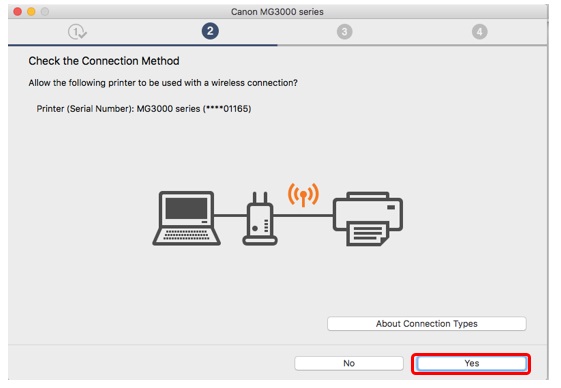
9. If your printer has already been connected to your wireless network, you will see the following screen. Click [Yes] to continue with the installation and jump to step 17 . If your printer has not yet been connected please continue to step 10.
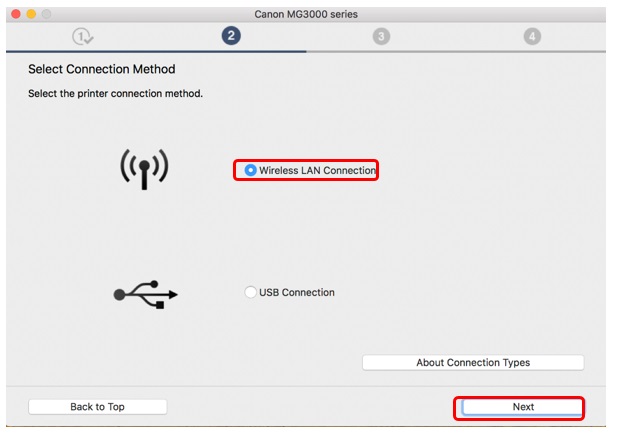
10. If your printer has not yet been connected to your wireless network, you will see the following screen. Select Wireless LAN Connection, then click [Next] .
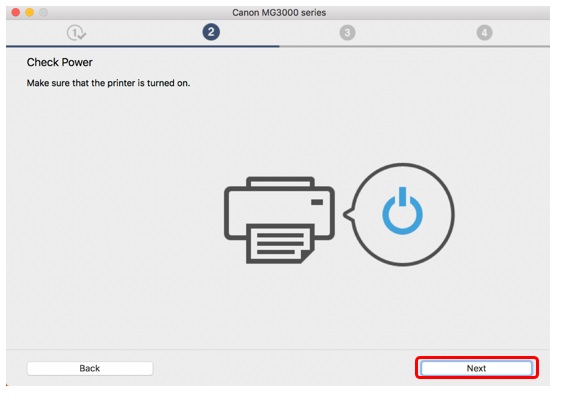
11. Ensure that your printer is powered on and click [Next] .
12. The software will search for any printers already set up on your network.
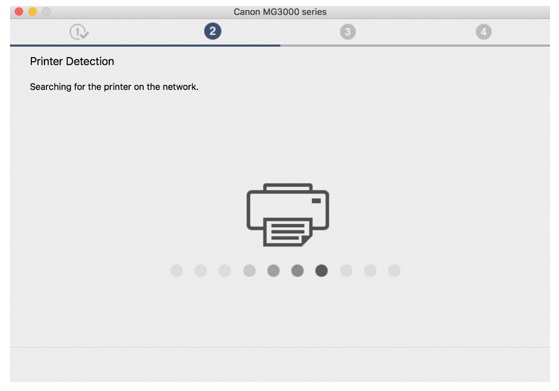
13. If this is the first time you are setting up your printer, it will not be displayed on the list.
Ensure [Set up the network connection according to the guide] is selected and click [Next] .
14. The setup guide will open and guide you through connecting your printer to your network using the easy wireless connect process.
Please follow the on-screen instructions carefully to prepare your printer for connection.
Only click next, when the printer corresponds with the example shown in the diagrams below.

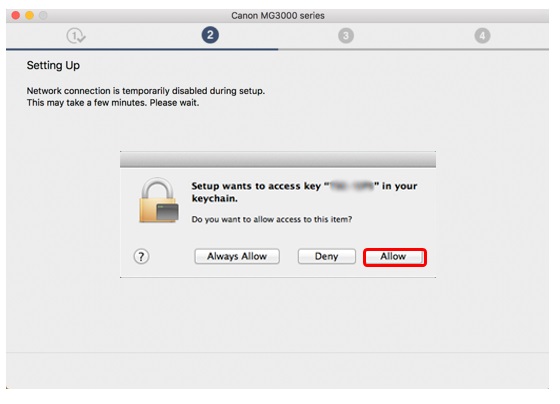
15. The software will now temporarily disconnect your computer from your wireless network and directly connect to your printer to configure the network settings.
Your computer will reconnect to your wireless network automatically once this has completed.
When the following message is displayed, click [Allow].
16. When the connection has successfully completed, click [Next] .

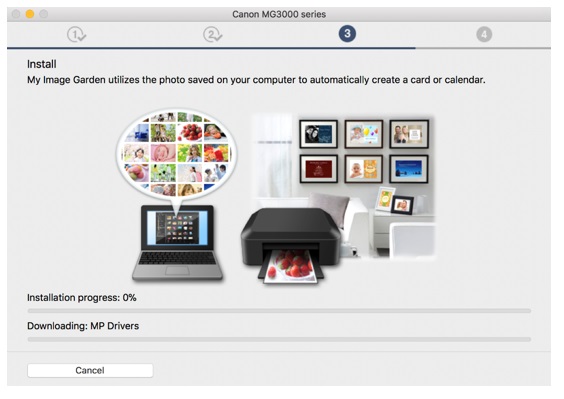
17. The printer driver software will now install onto your computer.
This will take a few minutes to complete.
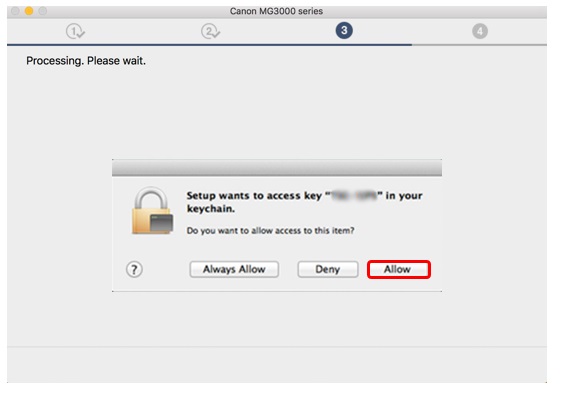
18. The software will now temporarily disconnect your computer from your wireless network and directly connect to your printer to configure the network settings.
Your computer will reconnect to your wireless network automatically once this has completed.
If the following message is displayed, click [Allow] .
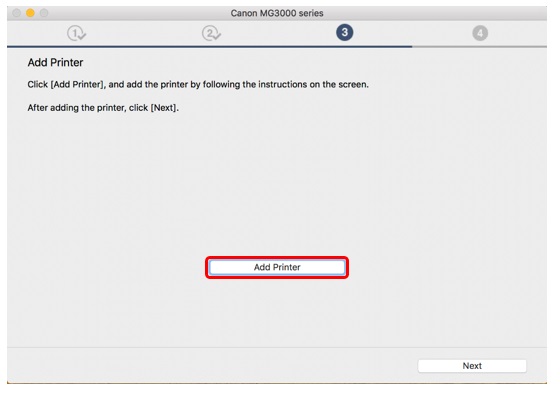
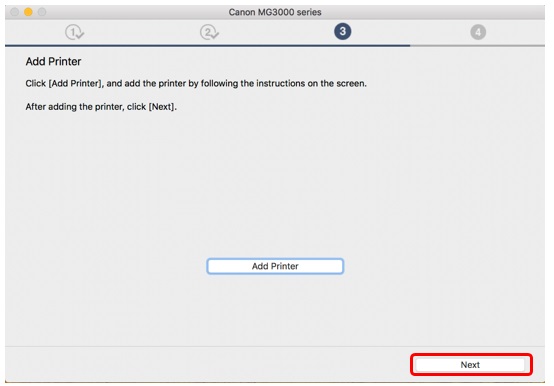
19. Click [Add Printer] .
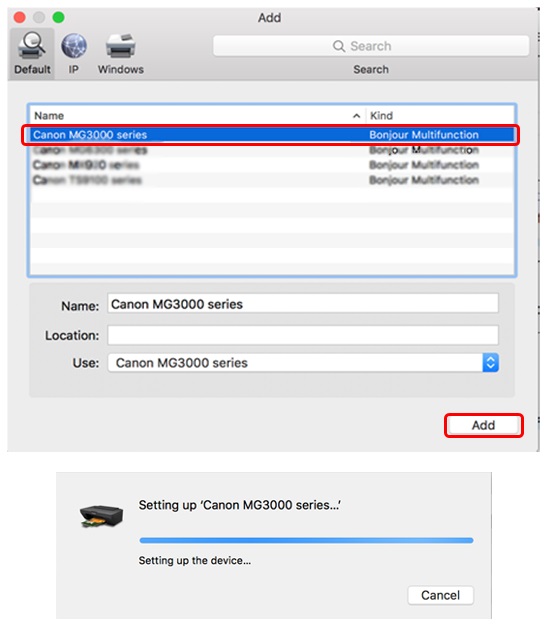
20. Select Canon "MG3000 series" "Bonjour Multifunction" from the list and click [Add] .
21. After adding your printer, the setup screen may be hidden by the web browser. If this happens, click on the setup icon
 located in the dock, to display the screen again.
Once the printer has been added, click [Next] to continue.
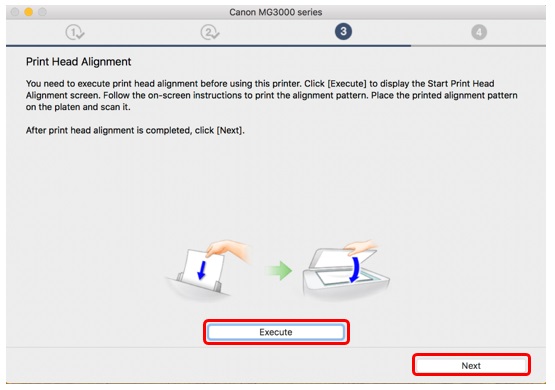
22. If this is the first time you are setting up your printer, it is recommended to perform print head alignment. Click [Execute] to start the process and follow the on-screen instructions.
If you have already aligned the print head, click [Next] .
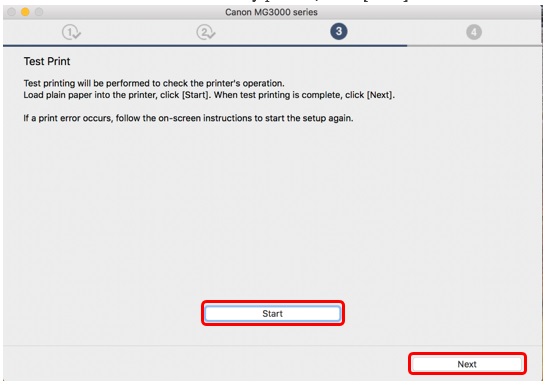
23. Click [Start] to perform a test print and click [Print] .
Once successfully printed, click [Next].
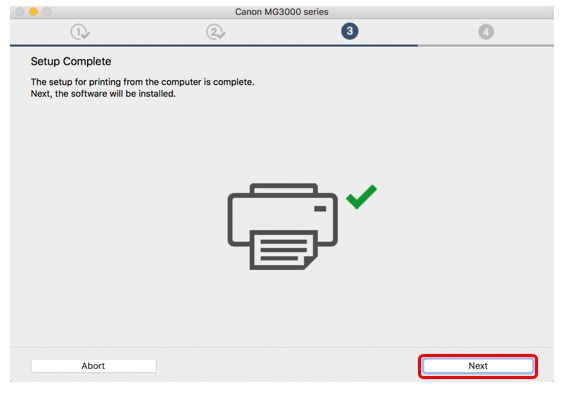
24. The setup of your printer is now complete.
Click [Next], to see a list of optional software you can also install.
25. From the list select any additional software you wish to install and click [Next] .
26. Once the additional software has installed, you will see a message informing you about setting up your smartphone or tablet. Click [Instructions] to find out more information on setting up your device, or click [Next] to continue.
27. To register your printer, click [Next] (this will open in a web browser). Alternatively, click [Skip].
28. Once the additional software has installed, click [Exit] to finish the installation.
Restoring Network Settings to Factory Default
Restoring your printer’s network settings back to factory default. If you need to reset your network settings back to factory default, for example if you change your access point, you can do so by following these instructions:
Please note that initialisation erases all network settings on the machine, so printing or scanning from a computer over the network will become impossible until the printer is re-configured with new network settings.
1. Press and hold the [RESUME/CANCEL]
 button until the ALARM
  lamp flashes 19 times.
2. Release the [RESUME/CANCEL]
button.
The network settings have been reset back to factory default settings.
Please now refer to the Wi-Fi setup – (WPS or Standard Connection methods) for instructions on setting up your printer onto your Wi-Fi network.